How to Make Hard Apple Cider Easy
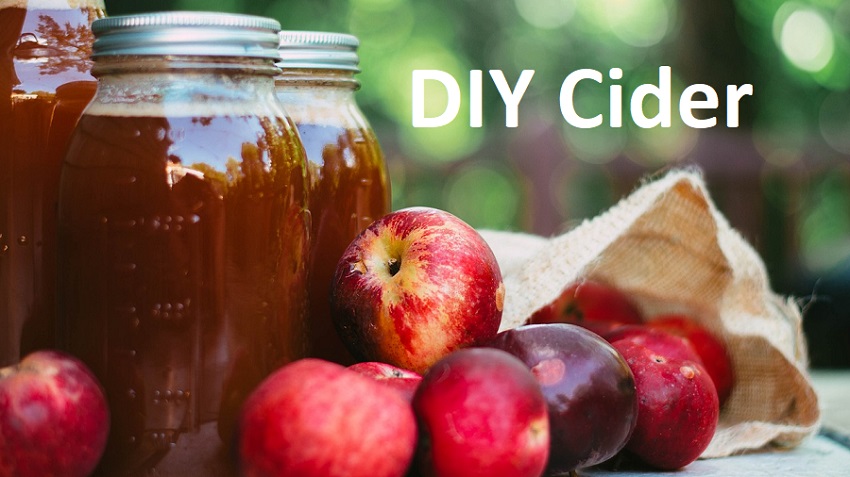
Making hard apple cider is more than just popping open a bottle of apple juice and pouring it into a container with sugar and yeast.
It does require some knowledge and skill but doesn’t have to be a difficult process.
Watch this video tutorial on how apple cider is made from scratch. and then follow my step-by-step instructions below.
If you love the taste of fresh apples or apple juice and are interested in making your own delicious hard apple cider, you’re in luck!
Making hard apple cider at home is easy and fun, and you only need a few basic ingredients and some simple equipment to get started.
I will provide you with step-by-step instructions on how to make homemade hard apple cider, including the necessary ingredients and equipment, timeframes, common mistakes to avoid, and safety precautions.
Ingredients and Equipment
The following ingredients are necessary to make hard apple cider at home:
- Fresh apples
- Brown sugar (optional)
- Champagne yeast or brewing yeast
- Yeast nutrient
- Priming sugar (optional)
The equipment you will need to make hard apple cider at home includes:
- A primary fermenter (such as a plastic bucket or glass carboy)
- An airlock and stopper
- A bottling bucket with a spigot
- Beer bottles with caps (Or wine bottles)
- Food-safe sanitizer (such as Star San)
- A hydrometer (optional but recommended)
Instructions
- Wash the apples thoroughly and chop them into small pieces, discarding the stems and seeds.
- Place the chopped apples in a large pot and add enough water to cover them.
- Bring the pot to a boil, then reduce heat and let the mixture simmer for about 45 minutes, stirring occasionally.
- Once the apples are very soft, remove the pot from heat and let it cool to room temperature.
- Using a strainer or cheesecloth, strain the mixture into a clean and sanitized fermentation vessel, pressing down on the solids to extract as much juice as possible.
- If desired, add a cup of sugar to the mixture and stir well.
- Sprinkle the packet of champagne yeast over the top of the juice and let it sit for a few minutes to hydrate.
- Cover the vessel with an airlock and rubber stopper, and let the mixture ferment at room temperature for 1-2 weeks.
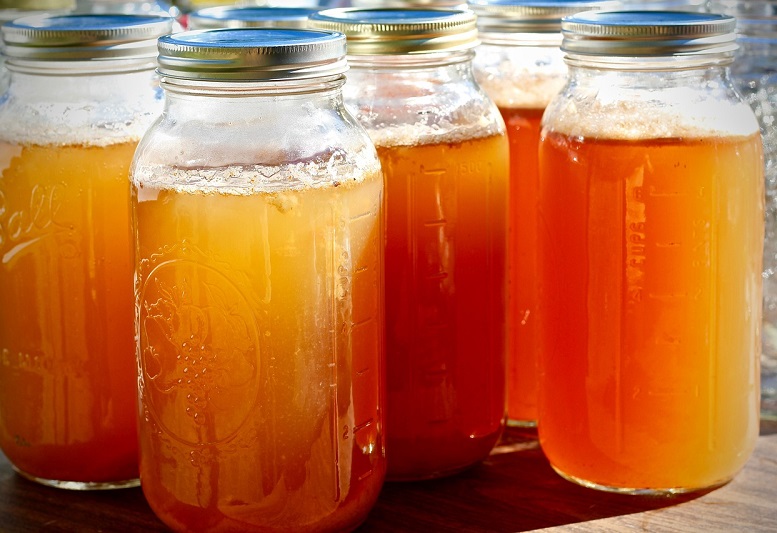
- After the fermentation process is complete, transfer the cider to sanitized bottles using a sanitized funnel.
- Let the bottled cider sit at room temperature for a few more days to carbonate, then move it to the fridge to chill before serving.
My Hard Apple Cider Recipe Checklist of Notes
There are a few things to make sure of while cider making that require attention.
- Clean and sanitize all equipment
Before you begin making hard apple cider, it is important to clean and sanitize all equipment to prevent contamination.
You can use a food-safe sanitizer such as Star San to clean and sanitize all equipment, including primary fermenters, bottling buckets, and beer bottles.
- Premade juice is an option
You can decide to use fresh apple juice, sweet cider, or store-bought apple juice to make hard apple cider.
If using store-bought juice, make sure it does not contain preservatives such as sorbate, as this can prevent fermentation.
I always choose to use fresh Prince Edward County apples from a local orchard just down the road.
- Add yeast and yeast nutrient
Add your chosen yeast and yeast nutrients to the juice or sweet cider.
Champagne yeast is a popular choice for making hard apple cider, but brewing yeast can also be used.
Yeast nutrient is added to ensure healthy fermentation and optimal alcohol production.
- Optional: Add sugar
If you want a sweeter hard apple cider, you can add brown sugar to the juice or sweet cider before adding the yeast.
The amount of sugar you add will depend on your desired sweetness and alcohol content.
- Primary fermentation
Transfer the juice or sweet cider with yeast and sugar (if using) to a primary fermenter, such as a plastic bucket or glass carboy.
Attach an airlock and stopper to the fermenter to allow carbon dioxide to escape while preventing oxygen and other contaminants from entering.
Place the primary fermenter in a cool, dark place away from direct sunlight.
The fermentation process will begin within 24 to 48 hours and will take approximately 1-2 weeks.
You can check the progress of fermentation by using a hydrometer to measure the specific gravity, which will decrease as fermentation progresses.
- Secondary fermentation
After 1-2 weeks of primary fermentation, transfer the fermented cider to a bottling bucket with a spigot.
Add priming sugar (if using) to the cider to create carbonation in the bottles. Bottle the cider using beer bottles with caps, leaving some headspace to allow for carbonation.
Place the bottled cider in a cool, dark place for secondary fermentation.
This will take approximately 1-2 weeks, depending on the desired level of carbonation. You can test the carbonation level by opening one bottle after 1 week and checking for fizz.
- Age and enjoy!
After secondary fermentation is complete, the hard apple cider is ready to drink! However, the flavor and character of the cider can improve with age.
You can age the cider for several weeks or months, depending on your preference. Aging can be done in bottles or in a keg.
Store the bottles or keg in a cool, dark place, away from direct sunlight.
The cider will continue to ferment in the bottles or keg, creating a smoother and more complex flavor profile.
It is important to check the carbonation level periodically if you are aging the cider in bottles, as excessive carbonation can cause the bottles to explode.
When you’re ready to enjoy your homemade hard apple cider, chill it in the refrigerator and serve it cold.
You can also experiment with adding additional flavors, such as cinnamon or ginger, to create your own unique cider blends.
Proper Sanitation
Sanitization is an important step in making homemade hard apple cider to prevent contamination and ensure successful fermentation.
Here are the steps to ensure everything is properly sanitized:
- Clean all equipment and utensils with soap and water before sanitizing.
- Use a food-grade sanitizer solution or a diluted bleach solution (1 tablespoon bleach per gallon of water) to sanitize all equipment and utensils.
- Soak all equipment and utensils in the sanitizing solution for at least 5 minutes, making sure that all surfaces are submerged.
- Rinse all equipment and utensils thoroughly with clean, hot water after sanitizing.
- When handling the fermentation vessel, airlock, and rubber stopper, use sanitized gloves or wash your hands thoroughly with soap and water before touching them.
- Once everything is sanitized, keep all equipment and utensils covered to prevent contamination until they are ready to be used.
By following these steps, you can ensure that all equipment and utensils used in the cider-making process are properly sanitized and free of contaminants.
Choosing The Right Apples
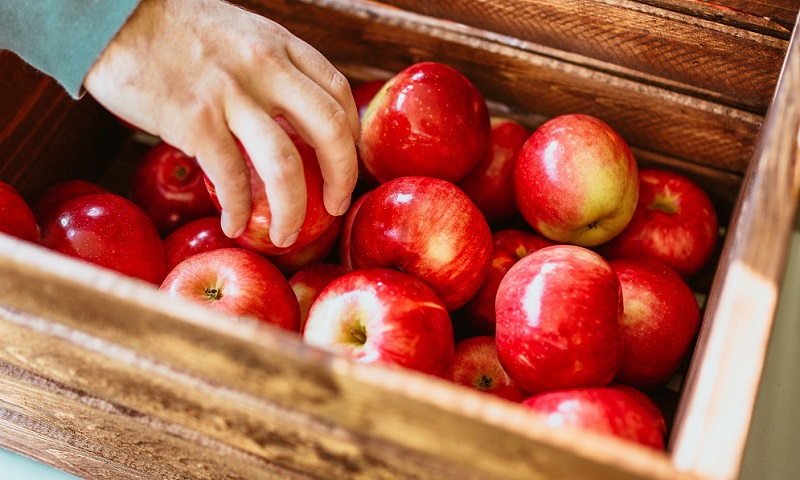
The first step in making hard cider is selecting the right apples.
Cider apples are different from eating apples as they are higher in tannins, acid, and sugar content.
Venturing into the world of hard cider making can be an exciting endeavor, and one of the critical factors in creating the perfect cider is selecting the right apples.
The most commonly used apples for cider include McIntosh, Golden and Red Delicious, Goldrush, Honeycrisp, Cortland, Idared, Jonagold, Granny Smith, Gala, and Fuji.
It’s essential to understand that not all apples are created equal when it comes to creating a well-balanced and flavorful hard cider.
A blend of apple varieties is often advised, combining sweetness, acidity, and tannin content to achieve a harmony of flavors.
Sweet apples like Golden Delicious offer a crisp taste, while tart varieties like Granny Smith contribute acidity, creating depth and complexity in your cider.
Bitter, tannic apples such as crabapples or cider-specific varieties like Dabinett or Kingston Black provide the mouth-puckering sensation that cider aficionados adore.
By experimenting with the proportions of these apple types in your hard cider, you can perfect your signature brew and discover a myriad of delightful flavor profiles it can offer.
Properly Pressing Apple Juice

The next crucial step involves pressing these apple chunks using specialized equipment, such as a traditional wooden rack and cloth press or a hydraulic press, to extract the maximum amount of juice possible.
As the pressure increases, the fragrant liquid emerges and collects into a container, ready to be transformed into a delicious concoction.
Once enough juice has been harvested, it undergoes fermentation, where yeast is added to convert the natural sugars into alcohol, eventually creating the unique taste and character of hard cider.
The artistry of pressing apples is undoubtedly an indispensable chapter in the story of this much-loved beverage.
The Fermentation
The apple juice is then transferred to a fermentation vessel, where yeast is added to convert the sugars in the juice into alcohol.
Understanding how much sugar, wild yeast, the yeast nutrients are additional key factors to consider.
Also, the fermentation process can take anywhere from several weeks to several months depending on the temperature and other factors.
To Age Or Not To Age
Once fermentation is complete, the cider is aged in barrels or tanks for several months to develop its flavor and character.
Some ciders may also be blended with other juices or ingredients to create unique flavors.
Carbonation
Finally, the cider may be carbonated to give it a fizzy, refreshing taste. This can be done naturally through a secondary fermentation process, or artificially through the addition of carbon dioxide.
Hard cider will contain between 4-8% alcohol by volume, depending on the style and fermentation process used.
So you see there is a lot to making cider but I can provide you with my basic cider recipe that’s the easiest to put together.
Common Mistakes to Avoid
Here are some common mistakes to avoid when making hard apple cider:
- Using juice with preservatives: Juice with preservatives can prevent fermentation and ruin your cider.
- Not cleaning and sanitizing equipment: Contamination can lead to off-flavors or spoilage.
- Not using enough yeast or yeast nutrients: This can result in incomplete fermentation or low alcohol content.
- Adding too much sugar: Too much sugar can result in excessive alcohol content or a dry, unbalanced cider.
- Not monitoring fermentation: It is important to monitor fermentation to ensure it is progressing properly and to avoid off-flavors.
Safety Precautions
When making hard apple cider, it is important to follow safety precautions to avoid injury or illness. Here are some safety tips:
- Use food-safe sanitizer to clean and sanitize all equipment.
- Wear gloves and goggles when handling chemicals such as sanitizer.
- Store bottled cider in a cool, dark place away from direct sunlight to avoid excessive pressure buildup and potential bottle explosions.
- Do not consume cider that appears to be spoiled, has an off-odor, or has mold growth.
Measure the Specific Gravity of the Cider
Determining the specific gravity of your cider is an essential aspect of the brewing process, as it allows you to monitor the fermentation progress and calculate the alcohol content with precision.
To accurately measure the specific gravity, you will require a specialized tool called a hydrometer.
First, ensure that the cider sample is at the recommended temperature to avoid any discrepancies in the readings – this is typically 60°F (15.5°C).
Then, carefully pour the cider into a vessel, such as a hydrometer jar or a test tube, making sure it’s free of bubbles.
Gently lower the hydrometer into the fermenting cider apple juices, allowing it to float freely without touching the sides or bottom of the container.
Once it stabilizes, take a reading at the meniscus line, where the cider’s surface meets the hydrometer’s scale.
This value will serve as a basis for analyzing the specific gravity and, in turn, the alcohol content of your carefully crafted cider.
Remember to consistently assess the specific gravity throughout the brewing process to optimize the quality and taste of your final product.
What alcohol is in hard apple cider?
As you explore the realm of alcoholic beverages, you may come across hard apple cider, a popular and refreshing drink made through the fermentation of apple juice.
But what exactly is the typical alcohol content in this beverage?
While it can vary, most hard apple ciders have an alcohol by volume (ABV) range of 3.5% to 7%, similar to that of beer.
For Example: Eric Bordelet Cidre Tendre, 3.5% ABV
However, there are certain craft or specialty ciders that can contain higher ABVs, up to around 12%.
It is important to remember that the alcohol content can greatly influence the overall flavor and body of the drink, so when indulging in this fruity libation, make sure to pay attention to its ABV and enjoy it responsibly.
Why This Homemade Hard Cider Recipe Works
I really enjoy this recipe to make my own homemade hard apple cider and here’s why:
- Cost-effective: Making your own hard cider at home is much more inexpensive than from a cidery.
- Customizable: You Can mix things up! Customize your own recipe to taste by choosing different varieties of apples or adjusting the amount of sugar used.
- Natural ingredients: This recipe uses only natural ingredients, so you can be sure that you’re drinking a healthier beverage without any additives or preservatives.
- Fun and easy: Making hard cider at home from scratch is a fun and easy process that doesn’t require a lot of specialized equipment or knowledge.
Overall, this recipe offers a great way to experiment with making your own homemade hard cider and enjoy the delicious taste of fresh apples.
Check Out These Cideries in Prince Edward County
- The Stock & Row cider company
- Loch Mór Cider Company
- The County Cider Company
- Crimson Cider Company
- Apple Falls Cider Company
- Clafeld Cider House & Market
My Last Two Cents
Making hard apple cider at home is a fun and rewarding hobby.
With a few basic ingredients and equipment, you can create your own delicious hard apple cider that is perfect for sharing with friends and family.
By following these simple steps and avoiding common mistakes, you can create a unique and delicious hard apple cider that you can enjoy for weeks or months to come.


